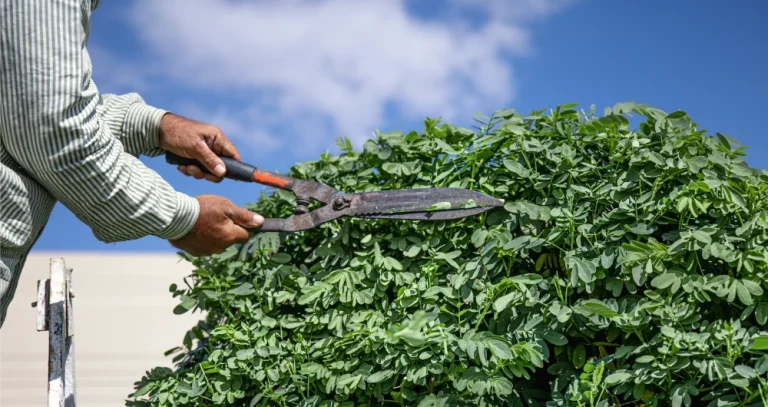


If you’ve got trees on your property, learning how to trim a tree is one of the smartest things you can do. Regular trimming helps prevent damage, improves your tree’s structure, and keeps your yard looking clean and intentional. But while it’s tempting to grab a saw and start hacking, knowing the right techniques makes all the difference. This beginner-friendly guide will walk you through everything, from the tools you’ll need to the cuts you should (and shouldn’t) make.
Why Learning How to Trim a Tree is Essential
Trimming helps prevent weakened or diseased limbs from falling unexpectedly. It improves airflow and light penetration, both of which are essential for healthy growth. On top of that, well-shaped trees enhance curb appeal and reduce risks during storms. Skipping this maintenance can lead to overgrowth, pest problems, and costly damage down the line.
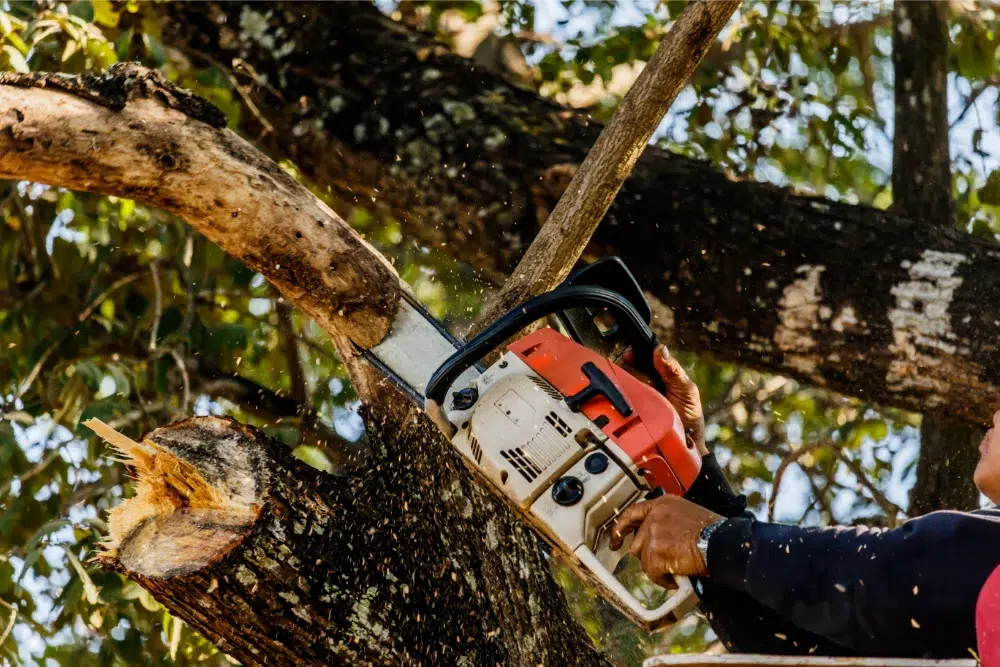
How to Trim a Tree: Step-by-Step Instructions
Let’s break down how to trim a tree into simple, actionable steps that anyone can follow. This section walks you through what to do, when to do it, and how to do it safely.
Step 1: Gather the Right Tools & Equipment
Before you touch a single branch, make sure you have the proper tools. For effective tree trimming, it’s important to have sharp, specialized tools designed for different branch sizes. The right gear ensures not only a cleaner cut but also a safer experience overall.
| Tool | Use Case |
|---|---|
| Hand Pruners | Small twigs and thin branches |
| Loppers | Medium-sized limbs (up to 1.5 in thick) |
| Pole Saw | Higher limbs without needing a ladder |
| Pruning Saw | Thicker branches or dense growth |
Safety Gear
Other Equipment
Pro Tip: Keep your blades sharp! Dull tools crush branches rather than cutting them, leaving trees vulnerable to disease.
Step 2: Assess the Tree
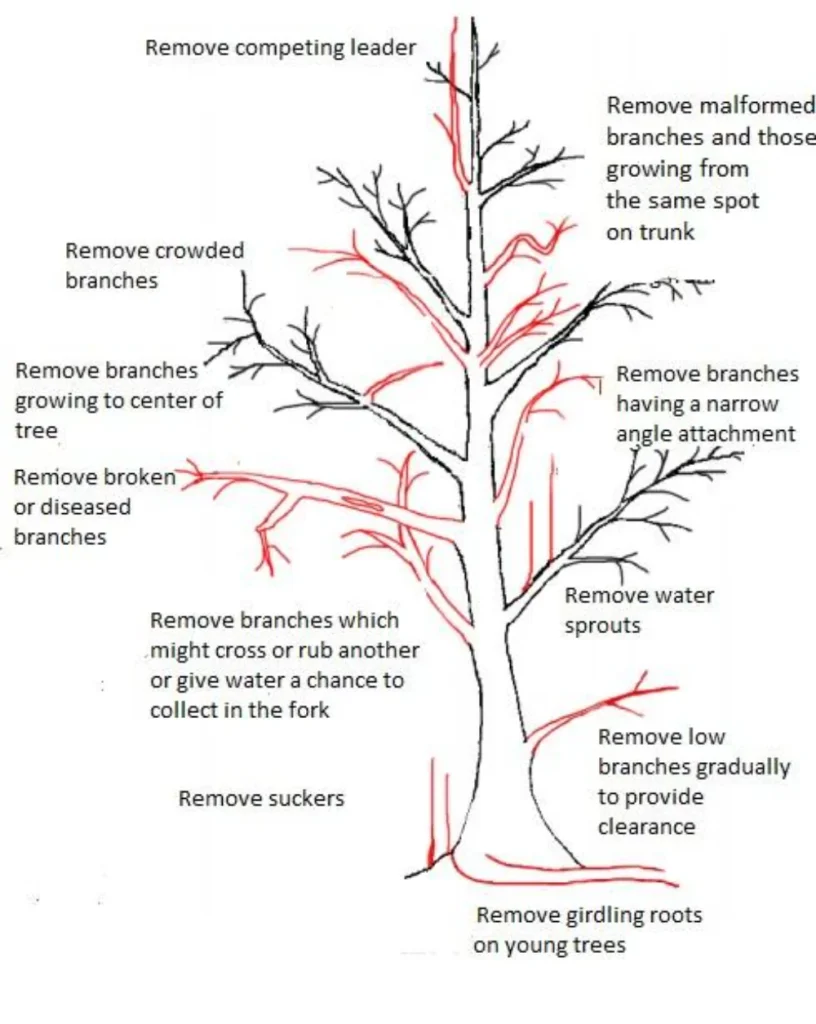
Walk around the tree and take your time before figuring out how to trim a tree. Look at it from different angles, both up close and from a distance. You’re trying to identify what needs to be removed and what should stay untouched.
Focus on:
Make a mental or physical note of which branches you want to remove before you start cutting. This will help you avoid overdoing it and keep the tree’s natural structure intact.
Step 3: Know What (and When) to Trim
Timing matters just as much as trimming techniques. In most cases, the best time to trim trees is during late winter or early spring, just before new growth starts. The tree is dormant, which minimizes stress and helps wounds heal quickly.
Here’s a basic guideline:
As for what to trim:
Quick Reminder: Some flowering trees bloom on old wood. If you trim in early spring, you might cut off next season’s flowers, know your species first!
Need help with a tricky branch or tall tree?
If your tree trimming project feels more risky than you expected, that’s completely normal. For larger branches, tall trees, or tricky spots, professional help will make all the difference.
Step 4: Make Safe, Clean Cuts
Now that you’ve mapped out what needs trimming, it’s time to make your cuts, and this is where technique matters most. Cutting too close, too far, or at the wrong angle can leave your tree vulnerable to rot, pests, or poor regrowth.
Follow these tips:
- Use the 3-Cut Method for branches over 1 inch thick:
- Make a small undercut about 6–12 inches from the trunk.
- Make a second cut from the top, a few inches farther out, to remove the bulk of the branch.
- Finish with a final clean cut just outside the branch collar.
- Avoid flush cuts, never cut flat against the trunk. Leave the collar intact to help the tree seal off the wound naturally.
- Don’t leave long stubs either. These can rot, attract pests, and damage the tree’s structure.
- Always cut at a slight downward angle to shed water and reduce the risk of fungal infections.
Step 5: Clean Up and Monitor
Once you’ve finished your trimming, don’t just walk away. There’s still a bit of cleanup and follow-up involved.
A good trim should leave the tree looking natural, not hacked or overly sculpted. If you step back and it looks like you didn’t trim anything, that’s often a sign you did it right.

Safety & Mistakes to Avoid
Even if you follow every step perfectly, one wrong move can undo your hard work, or worse, cause injury. This section helps you avoid the most common dangers and beginner errors when figuring out how to trim a tree.
Important DIY Safety Tips
Your top priority should always be safety, especially when tools, heights, and heavy branches are involved. Follow these tips and look into a complete safety guide before getting into it.
Common Mistakes to Avoid
These are the missteps that can weaken your tree, or make your trimming efforts ineffective or even harmful. Knowing what to watch out for when learning how to trim a tree will save you on tree trimming costs and potential damage to your trees.
1. Over-trimming
Removing too much foliage at once puts stress on the tree by limiting its ability to photosynthesize and produce food. This can stunt growth, weaken the tree’s natural defenses, and even cause dieback. Aim to remove no more than 25% of the tree’s crown during a single trimming session.
2. Topping
Cutting off the top of a tree or large branches indiscriminately may seem like a quick fix to reduce height or size, but it actually damages the tree’s structure. Topping encourages weak, fast-growing shoots called water sprouts, which are prone to breaking and disease. Instead, focus on selective pruning that maintains the tree’s natural form.
3. Bad Timing
Pruning at the wrong time of year can invite pests and diseases or interfere with the tree’s natural growth cycle. For most trees, late winter or early spring (before bud break) is ideal because the tree is dormant and wounds heal faster. Avoid pruning in the fall or during periods of active growth unless removing dead or damaged wood.
4. Wrong Tools for the Job
Using household scissors, dull blades, or inappropriate cutting tools can cause jagged cuts that crush and tear branches rather than cleanly slicing them. This damages the tree’s protective bark and creates entry points for insects and diseases. Always use sharp, purpose-built pruning tools suitable for the size of the branches you’re cutting.
5. Improper Cuts
Making flush cuts directly against the trunk or leaving long stubs interrupts the tree’s natural healing process. The branch collar, a swollen area where the branch meets the trunk, contains specialized cells that help seal wounds. Cutting outside the branch collar allows the tree to compartmentalize damage and reduces the risk of decay. Avoid tearing bark or ripping branches; make smooth, deliberate cuts.
Troubleshooting After You Trim
Even if you follow all the right steps when learning how to trim a tree, sometimes trees react in ways you didn’t expect. This quick troubleshooting guide helps you identify what’s normal and what’s a red flag.
Problem: Tree is dripping sap
- What it means: Some species (like maple, birch, or walnut) naturally release sap if trimmed in late winter or early spring.
- What to do: Don’t panic. This usually doesn’t harm the tree. Avoid trimming these species during active sap flow next time.
Problem: Leaves are wilting or curling
- What it means: This could be a sign of shock from over-pruning or heat stress if done on a hot day.
- What to do: Water the tree well and monitor it closely. Shade the base if necessary and hold off on more trimming.
Problem: Bark is splitting near cut
- What it means: The cut may have been too close to the trunk or done in freezing temperatures.
- What to do: There’s not much to fix now, just avoid further damage and wait for the tree to compartmentalize. Future cuts should be outside the branch collar.
Problem: Regrowth is wild and vertical
- What it means: This is likely from topping or excessive crown thinning, which causes the tree to send out water sprouts.
- What to do: Avoid topping in the future. These sprouts can be thinned later to restore structure over time.
Problem: Fungus or bugs around fresh cuts
- What it means: Poor airflow, unclean cuts, or open wounds may be attracting pests or disease.
- What to do: Remove debris around the base of the tree, clean tools before future use, and consider a pro evaluation if the issue spreads.
Quick Tip: If your tree looks significantly worse a few weeks after trimming, document changes and contact a certified arborist, especially for valuable or mature trees.
FAQ: DIY Tree Trimming
Still scratching your head? Here are quick answers to some of the most common questions people have about how to trim a tree.
In Short,
Now that you know how to trim a tree safely and properly, you’re ready to take action. With the right tools, some planning, and a safety-first mindset, you can handle most residential tree trimming on your own. Start small, be consistent, and remember, less is often more.
If the job feels too big or too dangerous, don’t hesitate to call in a professional. Healthy trees are an investment worth protecting.
Need help with a tricky branch or tall tree?
If your tree trimming project feels more risky than you expected, that’s completely normal. For larger branches, tall trees, or tricky spots, professional help will make all the difference.